How to Evaluate Completed Improvement Work
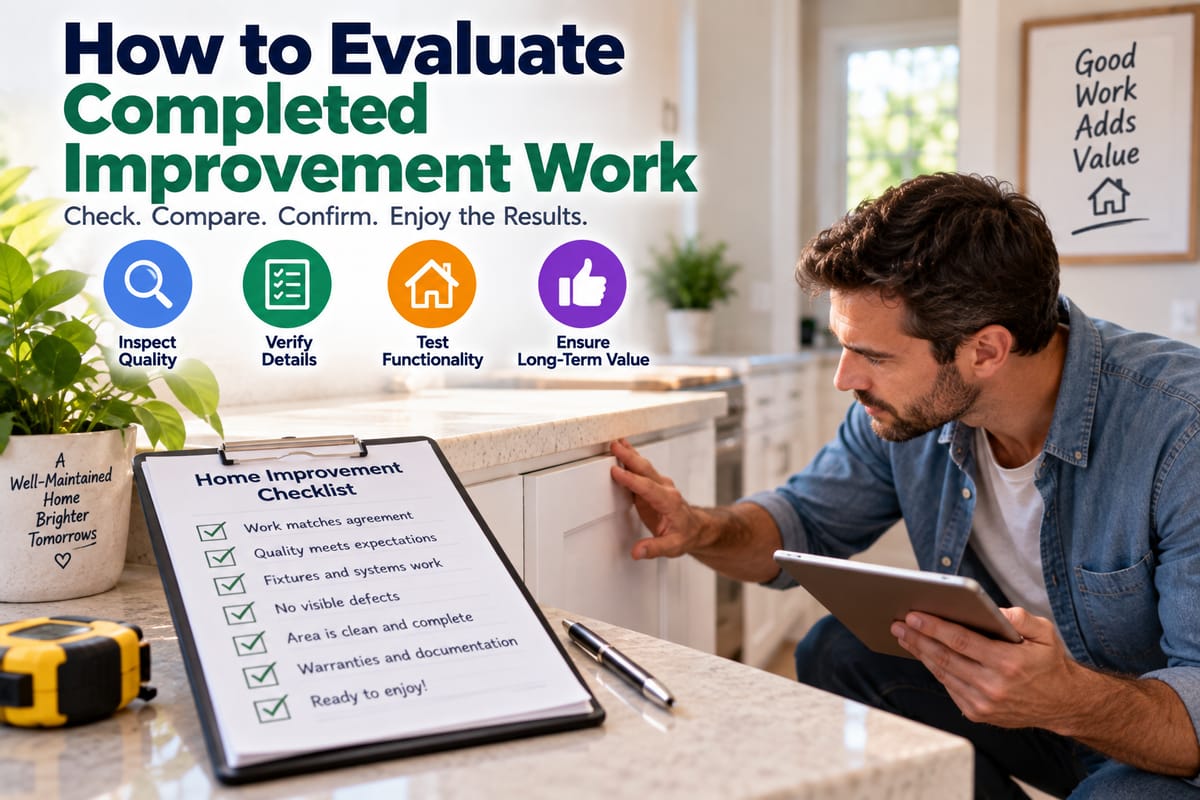
How to Evaluate Completed Improvement Work
Finishing a home improvement project does not necessarily mean the work is complete from a homeowner’s perspective. Once contractors leave and the tools are gone, the finished project should still be reviewed carefully to confirm that the work matches the agreed plans, functions properly, and has been completed to an acceptable standard.
Whether the project involved a new bathroom, remodeled kitchen, replacement windows, roofing, flooring, electrical work, or a larger renovation, a final evaluation can help identify unfinished details and potential problems before they become more difficult or expensive to address.
A thorough review is not about looking for perfection. It is about confirming that the completed work is safe, functional, consistent with the project agreement, and properly documented.
Why a Final Evaluation Matters
Home improvement projects often involve many individual tasks.
A contractor may complete the major construction work while smaller details remain unfinished. Paint touch-ups, missing hardware, damaged surfaces, incomplete caulking, cleanup, or adjustments can sometimes be overlooked during the final stages.
A final walkthrough gives homeowners an opportunity to assess the entire project rather than assuming that completion of the main construction means every detail has been addressed.
It can also provide an opportunity to identify problems while the contractor, subcontractor, or relevant tradesperson is still available to correct them.
Start With the Original Project Agreement
The first step is to compare the finished work with what was originally agreed upon.
Review:
- The contract
- Project specifications
- Drawings or plans
- Material selections
- Change orders
- Allowances
- Written instructions
- Payment schedules
- Warranties
The goal is to determine whether the completed project matches the documented scope.
A project may look attractive while still missing an agreed feature or using a different material from the one selected.
Written documentation provides a much clearer reference point than memory alone.
Conduct a Detailed Walkthrough
Walk through the entire project slowly rather than relying on a quick visual inspection.
Look at the work from different angles and examine areas that are easy to overlook.
Depending on the project, check:
- Walls
- Ceilings
- Floors
- Doors
- Windows
- Cabinets
- Fixtures
- Trim
- Hardware
- Electrical outlets
- Plumbing fixtures
- Exterior surfaces
- Landscaping
- Storage areas
Take notes as you move through each room.
It can be useful to divide the inspection into individual areas so that nothing is forgotten.
Check Whether Everything Works
Appearance is only one part of evaluating completed improvement work.
Test the features that were installed or modified.
For example, after a bathroom renovation, check faucets, drains, toilets, showers, ventilation, lighting, and storage.
After a kitchen renovation, check cabinet doors, drawers, appliances, outlets, plumbing fixtures, lighting, and countertops.
For windows and doors, open and close them several times.
The exact checks depend on the project, but the general principle is the same: a completed improvement should function as intended, not simply look finished.
Look for Visible Defects
Carefully examine finished surfaces for obvious defects.
Potential issues can include:
- Uneven paint
- Visible brush or roller marks
- Gaps
- Cracks
- Poorly aligned trim
- Damaged flooring
- Scratched surfaces
- Loose hardware
- Uneven tile
- Inconsistent grout
- Poor caulking
- Exposed fasteners
- Damaged fixtures
Not every minor imperfection indicates poor workmanship. The appropriate standard depends on the type of material, project, contract, and reasonable expectations.
However, noticeable defects should be documented and discussed rather than ignored.
Inspect Floors and Tile Work
Flooring is highly visible and can reveal workmanship issues quickly.
Look for uneven transitions, loose sections, gaps, damaged boards, inconsistent spacing, or visible installation defects.
For tile, inspect:
- Tile alignment
- Grout consistency
- Cracked tiles
- Hollow-sounding areas where relevant
- Edge finishing
- Caulking
- Transitions between materials
Pay particular attention to areas around bathrooms, kitchens, and other locations exposed to moisture.
Examine Doors and Windows
New or modified doors and windows should operate smoothly.
Check that:
- Doors open and close properly
- Locks work
- Hinges operate smoothly
- Windows open and close
- Latches engage correctly
- Seals appear intact
- Frames are properly finished
- There are no obvious gaps
If a newly installed door rubs against its frame or a window is difficult to operate, document the problem.
Small installation issues can become more noticeable as the home settles or materials respond to temperature and humidity changes.
Check Cabinets and Built-In Features
Cabinetry should be examined both visually and mechanically.
Open and close every door and drawer.
Check for:
- Misalignment
- Loose handles
- Uneven gaps
- Damaged surfaces
- Drawers that stick
- Doors that do not close properly
- Missing shelves
- Incomplete finishing
For custom cabinetry, compare the finished installation against the agreed dimensions, materials, hardware, and layout.
Test Plumbing Fixtures
If plumbing work was part of the improvement project, run the relevant fixtures and observe how they perform.
Check:
- Water flow
- Drainage
- Hot and cold water
- Faucet operation
- Toilet flushing
- Visible connections
- Under-sink areas
- Signs of leakage
Do not assume that a leak will always be obvious immediately. After running water, inspect accessible areas for moisture or dripping.
For broader information about addressing common household problems, the Home Repairs Guide: Common Problems and Solutions can provide additional context.
Check Electrical Features
Electrical improvements should be evaluated carefully.
Test accessible switches and outlets where appropriate.
Check whether:
- Lights operate correctly
- Switches control the intended fixtures
- Outlets appear secure
- Covers are properly installed
- Fixtures are firmly attached
- New electrical features match the agreed design
Do not open electrical panels or attempt to inspect wiring yourself unless you are appropriately qualified.
If something appears unsafe or does not function as expected, have a qualified professional evaluate it.
Inspect Heating, Cooling, and Ventilation
If the project involved HVAC or ventilation work, confirm that the relevant systems operate properly.
Check whether:
- Thermostats respond correctly
- Vents deliver airflow
- Exhaust fans operate
- New equipment starts normally
- Controls function
- Unusual noises or odors are present
Some systems require professional testing rather than a simple homeowner check.
The goal of a final walkthrough is to identify potential issues, not to replace specialized inspections or commissioning procedures.
Look for Signs of Water Intrusion
Water-related problems deserve particular attention because they can cause damage that is not immediately visible.
Look around newly renovated or repaired areas for:
- Water stains
- Dampness
- Bubbling paint
- Swollen materials
- Discoloration
- Musty odors
- Leaking fixtures
- Poorly sealed joints
This is especially important after roof, bathroom, plumbing, window, exterior wall, or drainage work.
Evaluate Exterior Improvements
Exterior work should be reviewed from both appearance and performance perspectives.
Depending on the project, examine:
- Roofing
- Gutters
- Siding
- Exterior paint
- Windows
- Doors
- Decks
- Patios
- Driveways
- Drainage
- Landscaping
Look for unfinished edges, damaged materials, poor drainage, gaps, or areas that appear inconsistent with the agreed scope.
Exterior improvements have an important role in protecting the house from weather, so visual quality and functional performance both matter.
Compare Materials With What Was Ordered
Sometimes the most important issue is not whether an installation looks good but whether the correct product was used.
Check materials against the project documentation.
This can include:
- Flooring type
- Tile
- Countertops
- Cabinets
- Fixtures
- Windows
- Doors
- Roofing materials
- Appliances
- Hardware
If a substitution was made, verify that it was authorized and documented.
Check Workmanship at Transitions
Transitions between materials are often where finishing problems become noticeable.
Look closely at areas where:
- Flooring meets walls
- Tile meets drywall
- Countertops meet backsplashes
- Cabinets meet walls
- Windows meet exterior finishes
- Different flooring materials meet
- New construction meets existing construction
These areas should generally appear intentional, properly finished, and appropriately sealed where necessary.
Look at the Project From a Distance
After examining individual details, step back and view the entire space.
Sometimes an installation can look acceptable when examined closely but appear uneven or poorly aligned when viewed as a whole.
Check:
- Overall alignment
- Symmetry
- Visual consistency
- Color consistency
- Placement of fixtures
- Relationship between new and existing materials
This broader perspective can reveal issues that are difficult to notice during a detailed inspection.
Confirm Cleanup Is Complete
Construction can leave behind dust, debris, packaging, protective materials, unused supplies, and other remnants.
Before considering the project complete, check whether:
- Construction debris has been removed
- Floors have been cleaned
- Fixtures are free of construction residue
- Labels and protective films have been removed where appropriate
- Materials are stored or disposed of as agreed
- Work areas have been restored
Cleanup responsibilities should ideally be specified in the project agreement.
Review the Work With the Contractor
A final walkthrough is usually more productive when the contractor participates.
Go through the project together and identify anything that needs attention.
Discuss each issue clearly rather than relying on vague statements such as “something doesn’t look right.”
For example, explain that a cabinet door does not close correctly, a section of trim has a visible gap, or a particular outlet does not work.
Understanding How Contractors Fit Into Home Projects can also help homeowners understand the different responsibilities involved when contractors and tradespeople work on a project.
Create a Punch List
A punch list is a written record of remaining work or corrections.
It can include items such as:
- Touch-up painting
- Missing hardware
- Damaged materials
- Alignment adjustments
- Incomplete caulking
- Cleanup
- Fixture adjustments
- Minor repairs
- Documentation that has not yet been provided
Numbering the items can make follow-up easier.
The list should be specific enough that everyone understands what needs to be addressed.
Take Photos of Outstanding Issues
Photographs can make a punch list much clearer.
Take pictures showing the location and nature of each issue.
For example, photograph a damaged cabinet surface rather than simply writing “cabinet problem.”
Keep the photos with the written project records.
Documentation can be particularly useful if a repair requires multiple visits or if there is disagreement about whether something was part of the original scope.
Verify Permits and Inspections
For projects that required permits, confirm that the appropriate inspections were completed.
Depending on the type of work and local requirements, documentation may include:
- Permit records
- Inspection approvals
- Final certificates
- Electrical inspection records
- Plumbing inspection records
- Structural approvals
Homeowners should retain relevant documentation with their property records.
A permit or inspection does not necessarily guarantee perfect workmanship, but proper documentation can be important for future maintenance, insurance, and resale.
Collect Warranties and Product Information
Before the project is closed out, collect documentation for newly installed products and systems.
This may include warranties for:
- Appliances
- Roofing
- Windows
- HVAC equipment
- Plumbing fixtures
- Flooring
- Cabinets
- Exterior materials
- Electrical equipment
Keep model numbers, serial numbers, receipts, installation records, and warranty information together.
These records can save considerable time when maintenance or repairs are needed later.
Confirm Maintenance Requirements
New materials and systems may require specific maintenance.
Ask the contractor or manufacturer about:
- Cleaning requirements
- Recommended inspections
- Filter replacement
- Sealing
- Lubrication
- Paint maintenance
- Warranty-related maintenance
- Seasonal preparation
Understanding maintenance requirements early can help protect the investment and preserve the condition of the improvement.
Consider How the Work Affects Home Value
Not every improvement adds the same amount of value to a property.
Quality workmanship, appropriate materials, good maintenance, and improvements that fit the home can contribute to its overall appeal.
Poorly executed work can have the opposite effect.
Homeowners interested in preserving or improving their property’s long-term value can review How to Protect and Improve Home Value for broader guidance.
The focus should not be on assuming that every renovation will produce a specific financial return. Instead, consider how the work affects functionality, condition, maintenance needs, appearance, and future marketability.
Do Not Rush the Final Payment
Payment terms should be established in the original contract.
If the agreement provides for a final payment after completion, homeowners should understand what qualifies as completion and whether outstanding punch-list items need to be addressed first.
Do not make assumptions about payment obligations. Follow the written agreement and applicable local requirements.
If there is a significant dispute about incomplete or defective work, professional legal or construction advice may be appropriate.
Know When to Bring in a Specialist
Homeowners can identify many obvious issues, but some problems require professional expertise.
Consider specialist evaluation when concerns involve:
- Structural movement
- Roofing
- Electrical systems
- Plumbing
- HVAC
- Water intrusion
- Mold
- Foundation issues
- Major safety concerns
A professional assessment can determine whether an apparent defect is cosmetic, functional, or potentially serious.
For buyers evaluating an existing property, a Home Inspection Guide: What Buyers Need to Check also provides useful context on the types of systems and conditions that deserve attention during property evaluation.
Keep a Complete Project Record
Once the work is finished, organize all relevant information in one place.
A useful project file can contain:
- Original contract
- Change orders
- Receipts
- Invoices
- Permits
- Inspection records
- Product specifications
- Warranties
- Contractor contact information
- Before-and-after photographs
- Maintenance instructions
- Final punch list
These records can be valuable years later when something needs to be repaired, replaced, or maintained.
They may also be useful when selling the property.
Watch the Work After Completion
Some problems only become apparent after a project has been used for a while.
A newly installed door may begin sticking. A plumbing connection may develop a leak. A new HVAC system may produce unexpected noises. Exterior drainage may behave differently during heavy rain.
Continue paying attention after the contractor has finished.
If a problem appears, document it promptly and determine whether it falls under a warranty or other contractual obligation.
A Finished Project Should Be Functional, Documented, and Maintainable
Evaluating completed improvement work requires more than admiring the finished appearance.
Homeowners should confirm that the work matches the agreed scope, functions properly, uses the expected materials, meets applicable requirements, and has been properly cleaned and documented.
A careful final walkthrough, detailed punch list, complete project records, and appropriate professional inspections can help identify problems while they are still relatively easy to address.
The real measure of a completed improvement is not simply whether the construction crew has left. It is whether the finished work performs as expected, integrates properly with the existing home, and gives the homeowner a clear understanding of how to maintain it going forward.